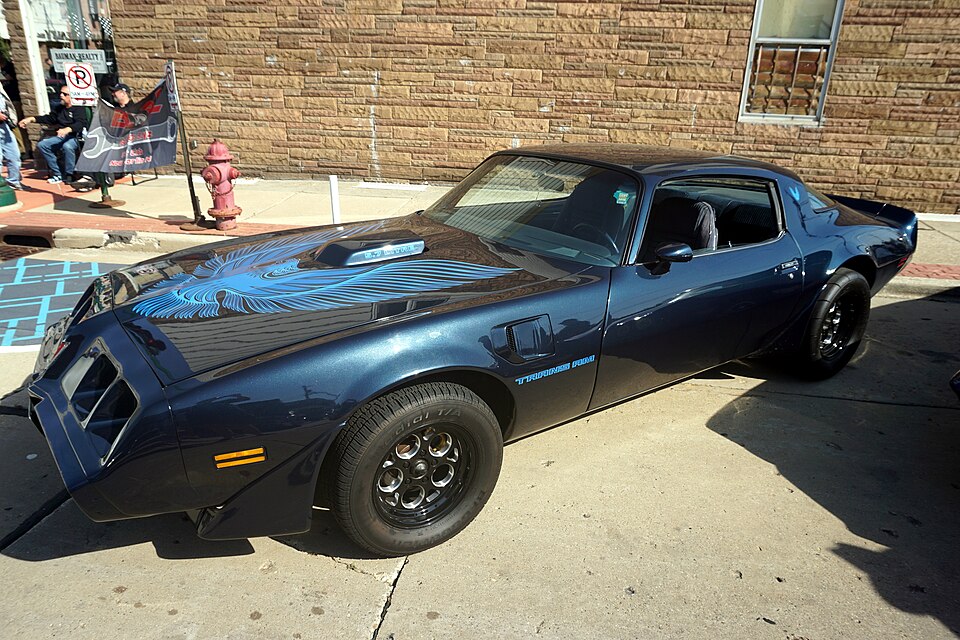
The 1979 Trans Am ignition switch replacement is one of the more approachable electrical jobs on this platform, but it trips people up when they order the wrong component. These cars use a GM steering column design where two separate assemblies share ignition duties: the lock cylinder (the tumbler your key inserts into) and the ignition switch (the actual electrical switching unit). They sit at different points on the column and connect through a metal actuating rod. Misidentifying which one has failed will cost you time and money before you ever remove a fastener.
Both components are available as reproduction parts for the 1979 model year, and the replacement procedure for each differs significantly. Work through the diagnosis section below before ordering anything.
Two Different Problems, Two Different Parts
When the Lock Cylinder Is the Problem
The lock cylinder is the housing your key slides into on the side of the steering column. It contains the internal tumblers that read your key's cut pattern. When this piece wears out, the symptoms are mechanical: the key won't turn, it turns too freely, it binds partway through its rotation, or the key won't return to the OFF position after the engine starts. A severely worn cylinder can also refuse to release the key entirely.
On a 1979 Trans Am, the lock cylinder has been through 45 or more years of daily use. The tumblers wear, the cylinder body corrodes, and the return spring weakens. None of that affects the downstream electrical switch directly. If the key feels wrong but your electrical symptoms are normal, start with the cylinder.
When the Ignition Switch Is the Problem
The ignition switch is the electrical unit mounted to the steering column tube itself, accessed from underneath the instrument panel. It translates the lock cylinder's physical position, via the actuating rod, into electrical signals that route power to the correct circuits across four positions: ACCESSORY, OFF, RUN, and START.
A failing electrical switch produces power-related symptoms rather than mechanical ones. Common signs include the starter failing to engage even though the key turns normally, accessories cutting out intermittently in the RUN position, the engine dying when the column is jostled, or one key position losing power entirely while adjacent positions still function. If the key feels correct but the electrical behavior is erratic, the switch body is where to focus.
Parts and Tools You Need
Parts List
For the electrical ignition switch, you need the correct replacement for the 1979 second-gen F-body platform. The 1979 Trans Am shared its column architecture with the broader 1977-1981 F-body range, so switches across those years often cross-reference. The critical variable is whether your car has a tilt steering column or a fixed column, as the two can require slightly different switch configurations. Confirm fitment before ordering.
For the lock cylinder, this is a separate line item from the switch. Cylinders are available individually or paired with new keys.
Tools List
- 3/8-inch drive socket set
- Phillips and flathead screwdrivers in multiple sizes
- Small pick, stiff wire, or thin punch (for lock cylinder removal)
- Flashlight or clip-on work light
- Masking tape and marker (for labeling connectors before removal)
- Electrical tape
- Torque wrench (optional, but useful for column bracket fasteners)
A steering wheel puller is not required for either the ignition switch or the lock cylinder on a 1979 Trans Am.
How to Replace the Ignition Switch
Step 1. Disconnect the battery. Remove the negative terminal first. The ignition switch routes power to multiple circuits including the starter. Working on it live is a fire and short-circuit risk.
Step 2. Remove the steering column shroud panels. The upper and lower covers are held by Phillips screws. On the 1979 Trans Am, the upper shroud also surrounds the turn signal stalk and, if equipped, the tilt release lever. Remove both covers carefully. Plastic that has been heat-cycled for four decades cracks easily if you lever against it.
Step 3. Loosen and lower the steering column. The column attaches to a bracket under the instrument panel with two bolts. Loosen these and let the column drop a few inches. You do not need to disconnect the column from the intermediate shaft at the firewall for this job. Lowering the column gives you the working angle to see and reach the switch body.
Step 4. Locate the ignition switch. With the column dropped, look at the column tube in the area between the instrument panel and the steering wheel end. The ignition switch is a small rectangular plastic housing mounted to the column tube with two screws. The wiring harness connector enters from one side, and the actuating rod enters from the lock cylinder end.
Step 5. Note the switch slider position before removal. Before removing the old switch, put the key in the LOCK position. Look at the slider inside the switch body and note where it sits. Photograph it if possible. The replacement switch must be set to match this position before installation, or the key positions will not correspond correctly to the electrical outputs.
Step 6. Remove the switch. Back out the two mounting screws and slide the switch off the actuating rod. Disconnect the wiring harness connector. Label the connector with tape if there is any doubt about orientation.
Step 7. Prepare and install the new switch. New switches are typically pre-set to the LOCK or OFF position. Confirm the slider matches the position you recorded from the old switch. Slide the new switch onto the actuating rod, reconnect the wiring connector, and install the mounting screws. Do not overtighten. The housing is plastic and the threads strip easily.
Step 8. Raise and secure the column. Lift the column back to its mounting position and tighten the bracket bolts. Reinstall the shroud panels, reconnect the battery, and test all four key positions before driving the car.
How to Replace the Lock Cylinder
Lock cylinder replacement is faster than the full switch job and requires no column removal in most cases.
Step 1. Disconnect the battery. Same reason as above. You are working near live circuits.
Step 2. Insert the key and turn to RUN. The RUN position aligns a small retaining tab or pin on the lock cylinder housing with a release slot in the column housing. This is what allows the cylinder to be pulled free.
Step 3. Depress the retaining pin and pull the cylinder. Use a small pick, thin punch, or stiff piece of wire to press the retaining pin inward through the small access hole in the column housing near the cylinder. While holding the pin depressed, pull the cylinder straight out with steady, even pressure. It should slide free with moderate effort. Do not yank or twist it.
Step 4. Install the new cylinder. Slide the replacement lock cylinder into the housing until it clicks and seats fully. Insert the key and cycle through all positions: ACCESSORY, RUN, START (briefly), and LOCK. Confirm the key releases cleanly. If it binds or won't return, the cylinder is not fully seated.
Testing Before You Close It Up
With everything reassembled and the battery reconnected, work through each key position deliberately. ACCESSORY should power the radio and other accessories without cranking the engine. RUN should illuminate the instrument cluster warning lights and briefly prime the fuel pump (you will hear the pump hum for a second or two). START should engage the starter promptly. LOCK should cut all power.
If the starter still won't engage after replacing the electrical switch, check the neutral safety switch on the transmission. This switch prevents starter engagement unless the car is in PARK or NEUTRAL, and a faulty one produces a no-start condition identical to a failed ignition switch. It is a separate component and a common overlooked culprit on cars this age.