Shopping for 1978-1981 Trans Am seat covers gets confusing fast, because the listings almost never explain the one thing that decides which set fits your car: whether it was built with a Standard or a Deluxe interior. Order the wrong level and the covers will not sit right on the frames no matter how carefully you work. This guide covers what the factory actually installed in these cars, how to identify what you have, what the various options cost right now, and what else you need to buy at the same time.
What the Factory Actually Put in These Cars
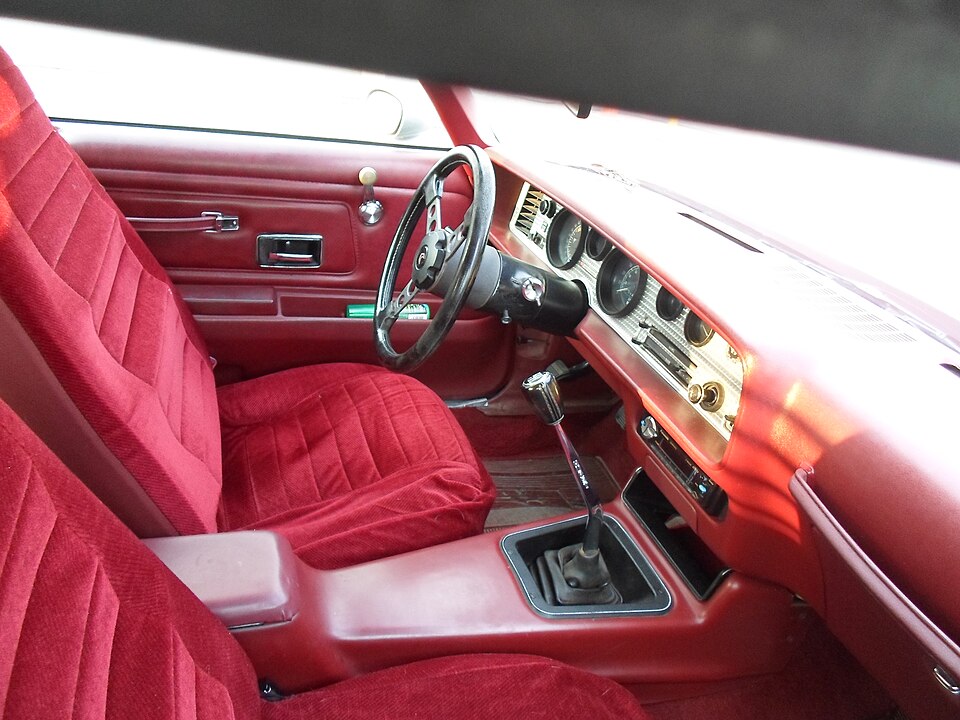
Every second-generation Firebird and Trans Am, 1970 through 1981, left the factory with vinyl seats. The deluxe bucket seat was standard equipment, not an upgrade or an option box anyone ticked.
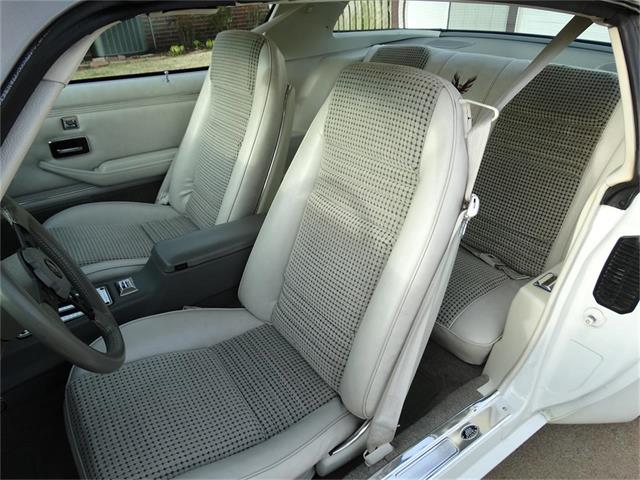
There is exactly one exception across the entire second-generation run. The 1979 10th Anniversary Trans Am (option code Y89) came with silver leather-trimmed seats to match its Platinum Silver Metallic paint. That car is the only second-gen with factory leather. If you are restoring anything else from 1978 to 1981 and you are aiming for factory correct, the answer is vinyl.
This matters commercially, because a lot of leather seat covers are sold for these cars. Leather is a legitimate and popular upgrade, and it is one you could never order new. It is simply not original, and anyone selling it as "factory style" leather for a 1980 Trans Am is describing something Pontiac never built.
Standard or Deluxe: Identify Yours First
Pontiac offered two interior levels on these cars, and the seat covers are cut differently for each. This is the single most common ordering mistake.
Standard interior seats have a plainer pattern with less shaping and simpler seams. They are the base bucket, and they are what most base Firebirds and a good number of Trans Ams came with.
Deluxe interior seats, sold as the Custom Trim Group, have a more sculpted pattern, additional pleating, and different seam placement, along with upgraded door panels and trim elsewhere in the car. On 1976 cars that package carried option code Y90 and listed at $81, standard on the Esprit and optional on the Trans Am. Codes and pricing shifted across the run, so confirm against your own car's documentation rather than assuming Y90 applies to your year.
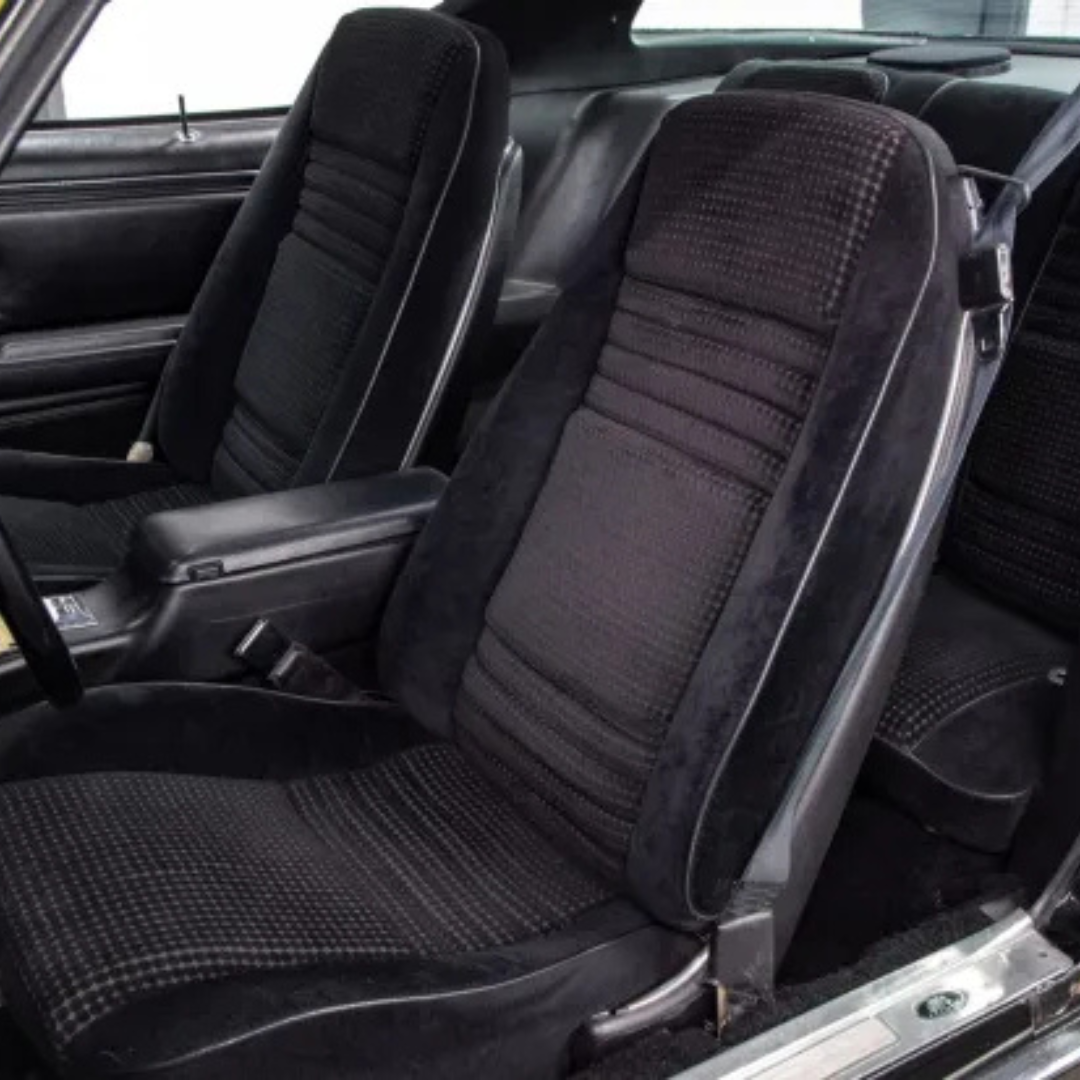
Both were offered in vinyl. On some years the Deluxe interior was also available in cloth, and the best known of those is the hobnail cloth pattern offered on 1979 and 1980 cars. If you have a cloth interior in a 1979 or 1980 Trans Am, that is very likely what you are looking at.
The practical test: put your seat next to photographs of both patterns before you order. The pleat count and the seam layout give it away immediately, and every reputable supplier photographs both.
Why 1978-1981 Is Its Own Fitment Group
Seat covers for these cars are sold in year brackets, and 1978 is where one of the real dividing lines falls.
Custom interior cars from 1973 through 1977 used what enthusiasts call the horse collar seat design, a shape introduced for 1973 that stayed popular through the end of the 1977 run. For 1978 the pattern changed to more angular features, and the 1977 seats were physically larger than the 1978 seats that replaced them.
That is why a 1977 set and a 1978 set are not the same part, even though the two model years look nearly identical from outside the car. The 1977 and 1978 Firebirds are close enough that people routinely shop by eye rather than by year, and the seats are one of the places that catches them out. If you are unsure which side of the line your car falls on, the grille is the quick tell: 1977 used a honeycomb pattern, 1978 a diagonal cross hatch.
Find Your Trim Code Before You Order Anything
Before you buy a single part, find your interior trim code. It lives on the data plate, typically in the door jamb or cowl area, and it tells you exactly which interior color combination the car was built with.
Restore to the code, not to the color you see today. Decades of sun through a T-top roof will shift a saddle interior toward something that looks nothing like it did in 1979, and buyers routinely order a color that matches their faded seats rather than what the car actually left the line wearing. Reproduction covers are sold by color name, so the trim code is your ground truth.
Two more things the trim code settles for you: whether your car should have a matching rear bench, and what the door panels are supposed to look like. Seats that do not match the panels are the fastest way to make a good restoration read as wrong.
Your Four Options for Redoing the Seats
Reproduction vinyl. The factory correct route. Widely available for 1978-1981 in both Standard and Deluxe patterns, in the color range the cars were originally built in. This is what you want for a numbers-correct or concours car.
Cloth. Correct only if your car came that way. The 1979 to 1980 hobnail pattern is reproduced, generally in black, and it is a smaller market so expect to pay more and wait longer.
Aftermarket leather. An upgrade, not a restoration. Availability through the main suppliers is currently limited to front seats only for 1978-1981, in a narrow set of colors, with lead times running eight to ten weeks. If you want leather on the rear bench too, the mainstream catalogue route generally will not get you there.
Custom-made covers. Made to order rather than pulled from stock, which is how you get colors outside the standard range, front and rear sets that actually match, and details like embroidery. Lead time depends entirely on the shop.
What 1978-1981 Seat Covers Actually Cost
Current retail, as of August 2026. Treat these as the shape of the market rather than fixed prices, since suppliers adjust them regularly.
| What you are buying | Typical price |
|---|---|
| Standard vinyl, full set (front and rear) | around $835 |
| Deluxe vinyl, full set | around $995 |
| Hobnail cloth, full set (1979-1980) | around $1,159 |
| Aftermarket leather, front pair only | around $1,130 |
| 1979 10th Anniversary, full set | $2,045 to $2,137 |
| Front seat foam, per pair | around $395 |
| Rear seat foam, per set | around $395 |
| Professional seat rebuild service | from around $700 |
A few things worth knowing before you budget. Most of these are made to order rather than stocked, so the price is only half the story and the lead time is the other half. Several suppliers also quote shipping by email rather than at checkout, which means the number on the product page is not the number you pay. And note that the leather figure buys you a front pair, not a set, which makes it far closer in real terms to the full-set prices above it than it first appears.
Foam and Frames: The Part People Skip
New covers stretched over forty-five-year-old foam will look wrong within a month and feel wrong immediately. Original foam in these cars is almost always collapsed, and the covers were cut to fit foam at its original loft.
Plan on replacing the foam at the same time as the covers. Budget roughly $395 a pair for fronts and about the same for the rear. While the seats are apart, check the frames and the spring grids, because a sagging grid will telegraph straight through new foam and a fresh cover. Replacement grids are available for these cars, and doing that work later means undoing everything you just paid for.
You will also want a bag of hog rings and the pliers to close them. It is a small cost that stalls the entire job if you skip it.
Installing the Covers
This is a genuinely doable weekend job for a patient owner, and a frustrating one for an impatient one.
Work in a warm space, or leave the covers in the sun first. Vinyl and leather both relax considerably when warm and fight you when cold. Take the seats out of the car rather than trying to work around the console. Photograph the old covers before you remove them, especially how the listing wires and hog rings are routed, because that is the detail people forget between disassembly and reassembly.
Fit the cover loosely over the whole foam first and pull it square before you ring anything down. Working one edge to completion and then moving to the next is what produces the diagonal wrinkle that never comes out.
If the seats have side bolsters that are torn or frames that need welding, that is the point to hand the job to an upholstery shop.
Common Mistakes
- Ordering by year alone and ignoring Standard versus Deluxe.
- Matching the color to the faded seat instead of the trim code.
- Reusing collapsed foam under new covers.
- Buying leather for a car being restored to factory correct condition.
- Doing the fronts and leaving a mismatched rear bench in the car.
- Forgetting the door panels, which have to match the seats to read correctly.
For a wider look at second-gen seats across the whole 1970 to 1981 run, including the earlier cars, see our Pontiac Firebird seats restoration guide. More interior and bodywork guides live in the Restoration section.