If you are working through how to restore the exterior paint on a 1979 Pontiac Trans Am, understand from the start that this car's exterior is a system, not just a color. There is the body color, the firebird hood graphic, the fender and rear panel lettering, the body stripes, and on special-edition cars, additional layered graphics packages that all have to work together. Getting any one element wrong undermines the whole car. This guide covers the full process from cowl tag to final buff, with attention to the details that separate a correct 1979 restoration from a repaint that simply looks close.
Reading Your Cowl Tag Before Ordering a Single Can of Paint
The 1979 Trans Am's build information lives on the cowl data plate, a stamped metal tag riveted to the firewall in the engine bay. The two-digit GM paint code on that tag is your most important reference before any paint work begins. Without it, you are guessing at a color that may not match the original.
Factory body color options for the 1979 Trans Am included Cameo White, Starlight Black, Martinique Blue, and Goldenrod Yellow, among others. The 10th Anniversary Trans Am (RPO Y89) was finished exclusively in Platinum Silver Metallic with a coordinated silver and charcoal graphics package. The Y84 Special Edition, known informally as the Bandit package, used a black body with gold graphics applied over it.
Take your confirmed paint code to a professional automotive paint supplier and have your color mixed from that code. Modern formulations for GM codes from this era are widely available. If you are cross-referencing codes or trying to decode the rest of the data plate, the Pontiac-Oakland Club International maintains technical advisors who specialize in Pontiac documentation and can help verify that your code and trim combination are correct for your car.
One point that often gets missed at this stage: the firebird hood graphic color was not arbitrary. It was chosen to coordinate with the body color and varied accordingly. Document what your car originally wore, in photographs and written notes, before anything is stripped off.
Stripping and Prepping the Body
Surface preparation is where most amateur restorations fail. It takes considerably longer than spraying color and it is what determines whether the finish holds for twenty years or flakes within two.
Strip or Sand?
If your car has multiple layers of old paint, filler hiding bodywork, or any surface rust, media blasting to bare metal is the right starting point. It removes everything and shows you exactly what the body looks like before you commit primer and paint to it. A car with a solid, single-layer original finish in good condition can sometimes be properly scuffed and re-primed without going all the way to bare metal, but be honest about what you are actually working with. 1979 Trans Am bodies are unibody construction, and the floors, rocker panels, and rear wheel arches are the common rust areas on cars that lived in northern states. Address all metal repair before primer goes on, never after.
Guide Coat and Blocking
After primer is applied, a guide coat, a thin contrasting layer of a different color or a commercial guide coat product, is sanded flat to reveal remaining low spots. Any area where guide coat remains after sanding is a low spot that needs additional primer or body work. Use a long sanding board rather than a hand-sized pad to keep panels straight and flat. This step is not negotiable on a correct restoration and separates a finish that is straight from one that only looks straight in a shop with fluorescent lighting.
Choosing the Right Paint System
The 1979 Trans Am left the factory finished in acrylic enamel. For a period-correct show restoration, single-stage urethane enamel is the modern equivalent. It mixes to the same GM paint codes, provides similar gloss depth to the original finish, and is significantly more durable than the acrylic enamel that came from the factory. Most concours judging programs for cars of this era accept single-stage urethane as the correct choice.
Base-coat/clear-coat systems are appropriate for a driver-quality restoration and offer better resistance to environmental damage over time. The tradeoff is that the finished surface looks slightly different from a factory single-stage finish. The gloss has a different character, and experienced judges recognize it. If correct appearance is the goal rather than maximum durability, stay with single-stage.
Regardless of which system you choose, spray in a controlled environment. Temperature and humidity both affect how enamel flows and flashes. If your shop does not have adequate climate control, renting time at a professional spray booth is worth the cost. Dust contamination in the paint film requires wet sanding to fix, which adds hours to the project.
Reproduction exterior trim pieces, moldings, and emblems are part of a complete exterior restoration. Factory items are frequently missing, cracked, or damaged on cars that have been repainted before, and correct replacements matter on a car where the judges know what every piece should look like.
Restoring the Firebird Hood Graphic and Body Stripes
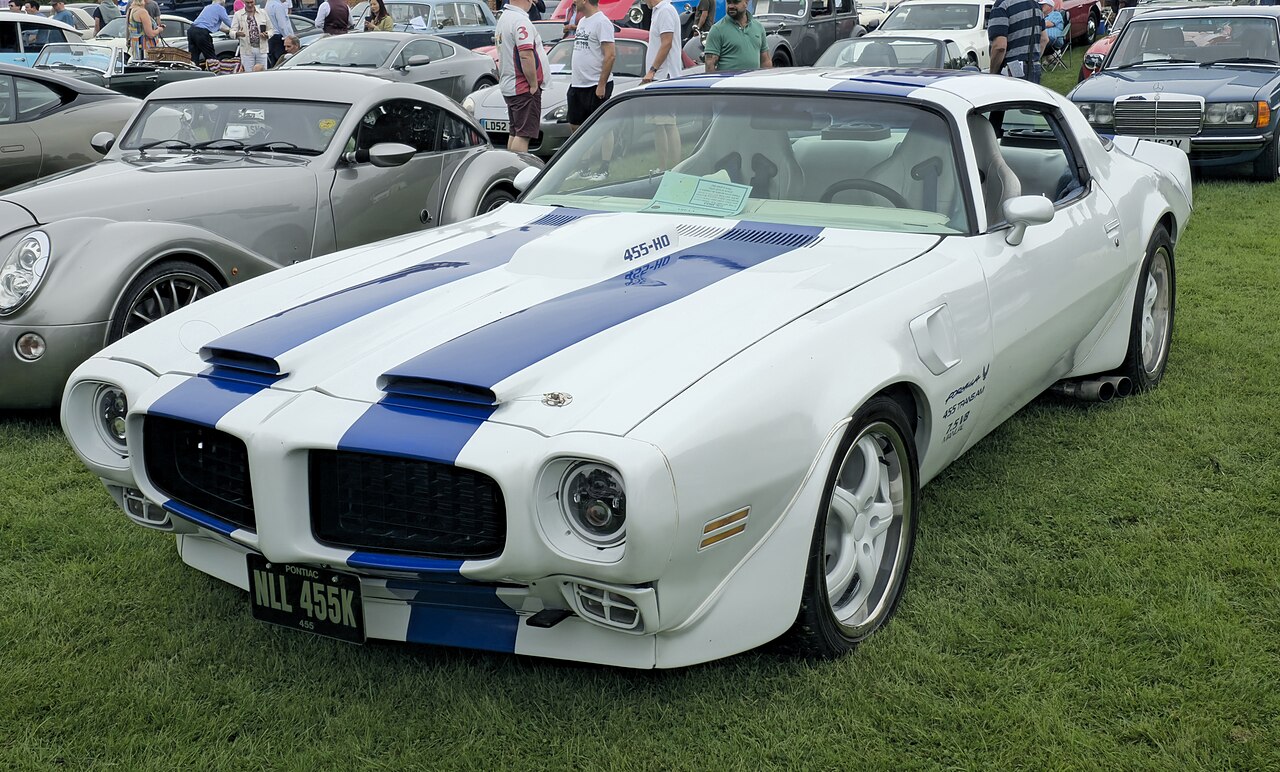
The screaming chicken hood decal is the most recognizable element of the 1979 Trans Am exterior and also one of the most frequently botched. Reproduction graphics vary considerably in quality, and incorrect sizing or color combinations are common in the aftermarket. Buy only from a supplier that specifies 1979-correct dimensions and can document the color arrangement for your specific body color.
The standard 1979 Trans Am also carried Trans Am lettering on the front fenders and Firebird lettering across the rear panel. These are small details that show up on judges' evaluation sheets and that often go missing or get replaced with incorrect substitutes through the life of the car.
Install all graphics only after the paint has fully cured. Single-stage urethane enamel typically needs a minimum of 30 days before decals go on. Installing graphics over soft paint causes lifting and bubbling at the edges that may not appear until weeks later, requiring removal and reinstallation.
Special Considerations for the Y89 10th Anniversary Trans Am
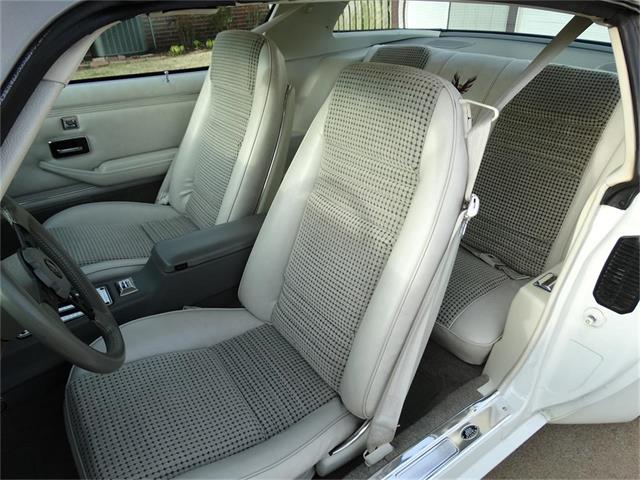
If you are restoring a 1979 10th Anniversary Trans Am, the exterior graphics package is unique to that car and differs from every other 1979 Trans Am. The Platinum Silver Metallic body carried silver and charcoal graphics with specific pinstriping that requires its own set of reproduction materials. The Y89 also holds the distinction of being the only second-generation Trans Am to leave the factory with leather-trimmed seats, finished in silver to coordinate with the exterior scheme. Incorrect Y89 reproduction graphics circulate in the market, so verify a supplier's source documentation and cross-reference against well-documented production cars before purchasing anything.
Wet Sanding and Final Buffing
After the color coat has cured sufficiently, wet sanding removes the texture that spray application leaves in the film. Work through 1500 grit and then 2000 grit wet, using straight strokes and rinsing the paper frequently to avoid loading it. Follow with a machine polisher and a cutting compound appropriate to your paint system, then a finishing polish.
A single-stage finish can be compounded more aggressively than a clear-coat finish because there is no separate clear layer to cut through. With a base/clear system, work conservatively at the buffing stage.
Check body panel fit before any graphics go on. Hood-to-fender gaps and door gaps should be consistent on both sides. The 1979 Trans Am's doors are heavy, and door sag is common on high-mileage cars. Adjust hinges before paint when possible, not after.
Final hand polishing with a quality finishing product after machine work makes a meaningful difference in depth of finish, particularly in direct sunlight. It is also your last opportunity to catch any swirl marks from the buffing stage before the car is reassembled and graphics are installed.