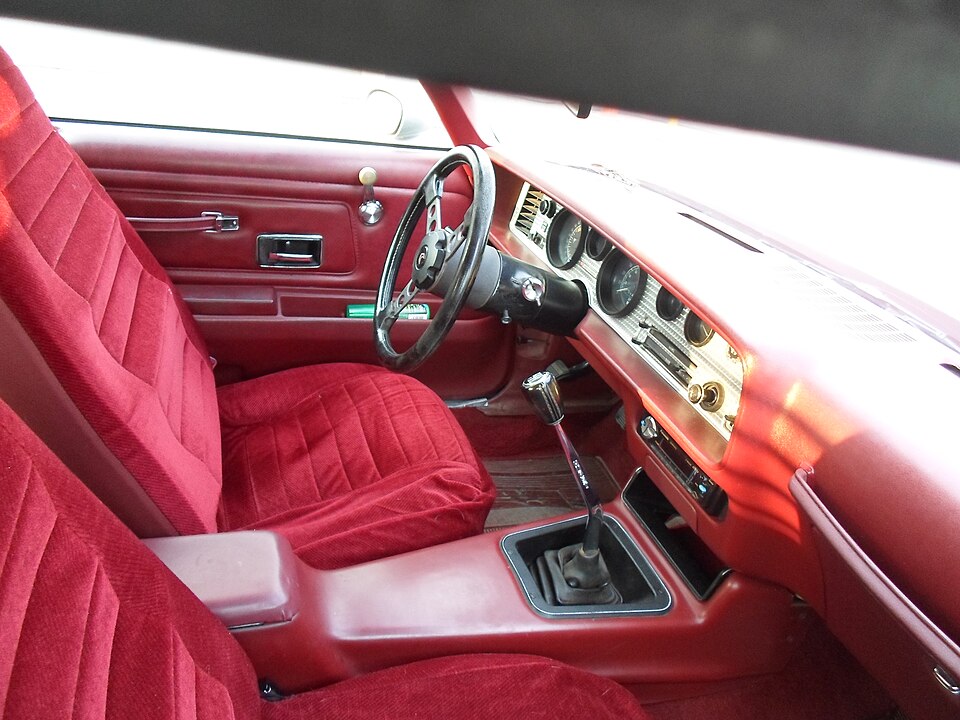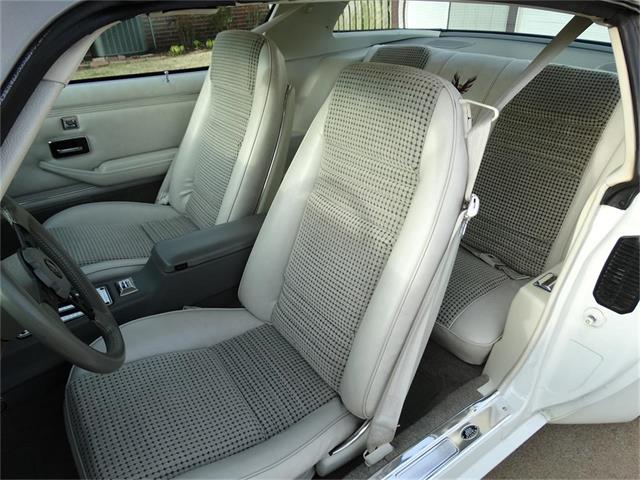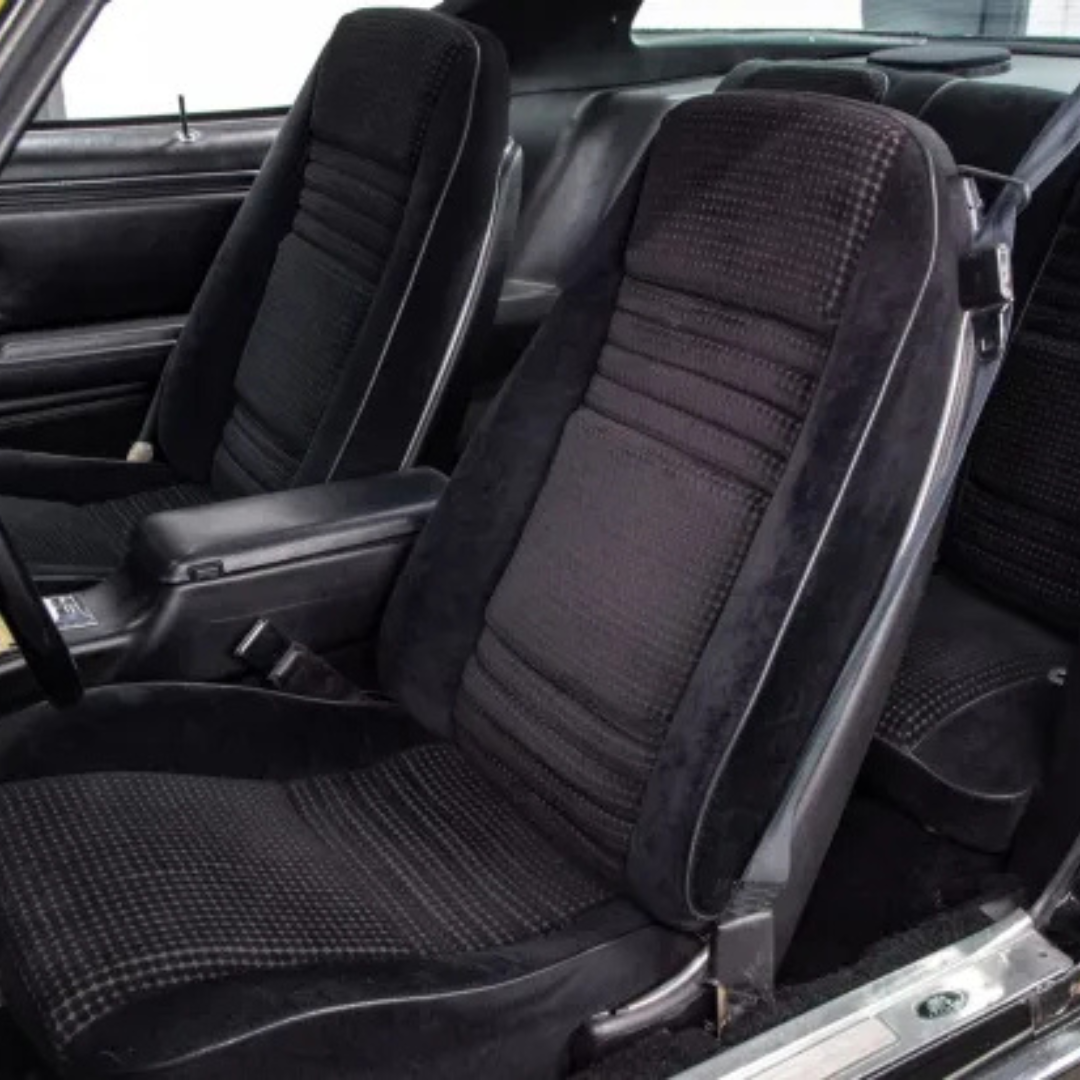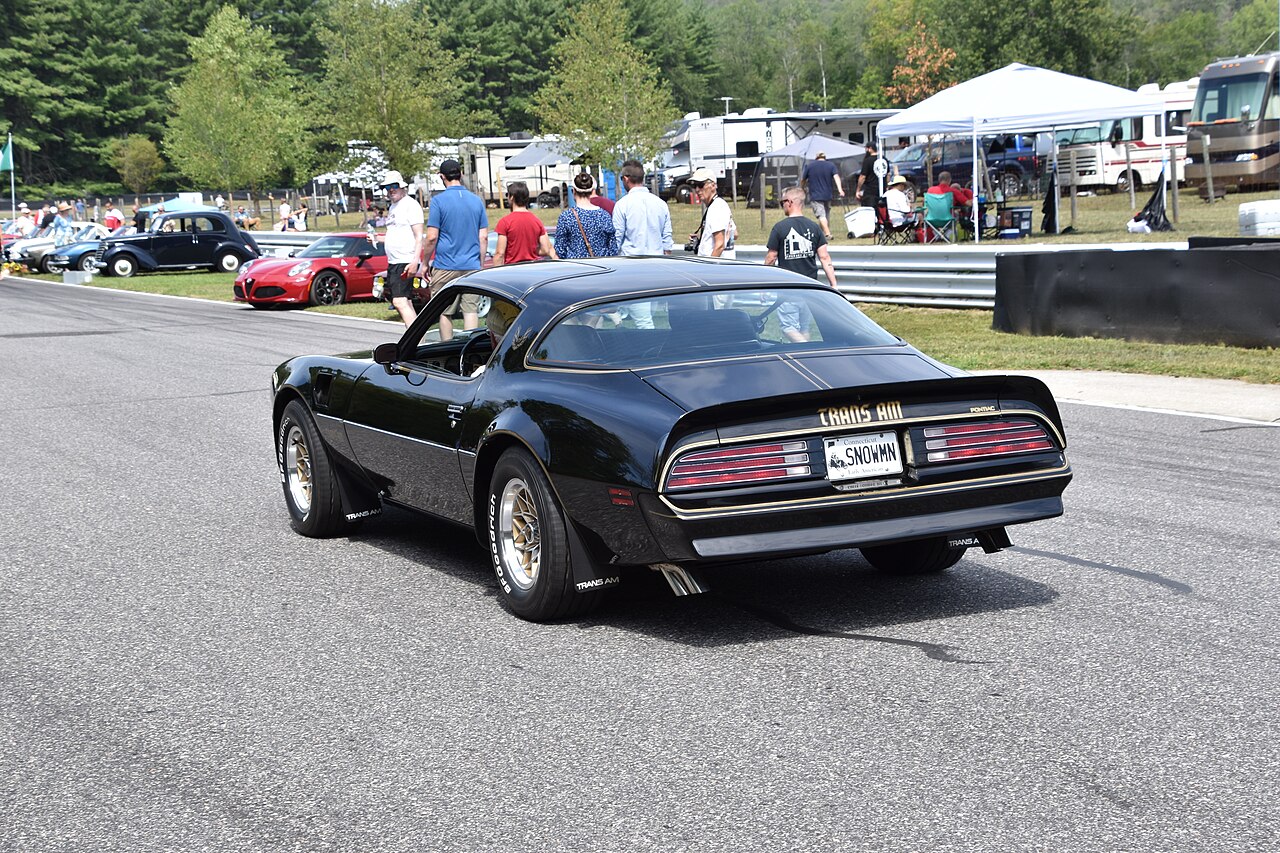
The foam inside a second-generation Trans Am seat has a hard life. Decades of UV exposure, heat cycling, and body weight compress and eventually crumble the original urethane into something resembling dry cornbread. Trans am seat foam replacement is one of the most satisfying restoration jobs you can tackle because the improvement is immediate and felt every time you sit down. This guide covers the complete process for 1970-1981 Trans Ams and Firebirds: pulling the seat, matching the correct foam profile to your model year, and getting the vinyl cover back on without tearing it.
Why Second-Gen Seat Foam Fails
The original material is open-cell polyurethane, the industry standard for domestic automotive seating in the 1970s. Open-cell foam breathes well and starts out comfortable, but it has a finite lifespan, especially inside a car where temperatures regularly exceed 130 degrees Fahrenheit on a summer afternoon. Heat degrades the polymer chains over time. Once the foam begins to oxidize it becomes brittle, then breaks apart in chunks. Moisture accelerates the process significantly. A seat that looks fine from the outside can have foam underneath the cover that has essentially turned to rubble.
By the time most of these cars had sat for 20 or 30 years, the foam had degraded enough to cause the recognizable symptoms: a seat that drops several inches when you settle into it, persistent wrinkles and folds in the vinyl that no amount of heat-shrinking will correct, and a seating position that puts you well below where the factory intended. Restoring the foam brings back the correct geometry, which matters both for how the car drives and for how the seat cover looks on top of it.
Matching Foam to Your Model Year
This is where most owners go wrong. The second-generation Firebird used three distinct seat generations across its 1970-1981 run, and the foam profiles are not interchangeable. Ordering the wrong year's foam means it will not align correctly with the cover seams or the frame attachment points.
1970-1973 Seats
The early second-gen buckets had a comparatively simple foam profile. The seat bun and backrest were separate pieces with less pronounced lateral bolstering than later designs. Reproduction foam for this generation is available but less commonly stocked, so lead times from suppliers can be longer. If you are restoring a 1970-1973 car, confirm the supplier specifies this year range before ordering.
1974-1977 Seats
The 1974 restyle brought updated seat styling with more defined bolstering and a revised backrest shape. The foam profile changed to match the new cover design. These seats are often in worse shape than early cars because they spent the worst years of automotive neglect sitting in garages with little attention. Match foam specifically to this frame, not the earlier or later designs.
1978-1981 Deluxe Bucket
The Deluxe Bucket became standard equipment on the Trans Am starting in 1978 and carried through the end of the second generation in 1981. It features a pronounced center section on the bottom cushion, a taller backrest, and an integrated headrest. This is the most widely supported seat in the reproduction parts market. Foam for the bottom bun, the backrest, and the headrest pad are all available as individual pieces. Order them as a matched set so density and profile are consistent across all three components.
Tools and Materials
Gather everything before you start. Stopping mid-job to source a tool is how covers get damaged sitting half-stretched over a seat frame.
- Hog ring pliers (purpose-built, not standard pliers)
- Hog rings, 3/4-inch, in quantity (plan on using more than you expect for a complete seat)
- Wire cutters or diagonal pliers to remove old hog rings
- Trim tools or a wide flat screwdriver wrapped in tape
- Contact cement or spray adhesive rated for foam-to-metal bonding
- Vinyl conditioner for the cover once reassembled
- A heat gun, optional but useful for relaxing a stiff cover
- Replacement welt cord if the original is cracked or flattened
The hog ring pliers are non-negotiable. Closing hog rings with standard pliers crushes them unevenly, produces weak connections, and risks punching through the vinyl. The correct pliers cost less than twenty dollars and will pay for themselves on the first seat.
Removing the Seat and Stripping the Cover
Pull the seat from the car before doing anything else. Four bolts secure each seat track to the floor. Slide the seat fully forward to access the two rear bolts, then fully rearward for the front pair. The outboard seat belt anchor bolt also needs to come out. Disconnect any wiring if the car has a power seat option, and label the connectors before separating them.
With the seat on a workbench, locate the hog rings running along the underside of the seat bun and around the perimeter of the backrest. Cut them all with wire cutters. There are more of them than you expect, especially on the backrest. Take your time stripping the cover. Forty-plus-year-old vinyl is often stiff and can crack if pulled aggressively. Work the cover loose gradually, peeling it back a few inches at a time. Where the cover has bonded to deteriorating foam, use a thin trim tool to separate them rather than forcing the vinyl.
Once the cover is free, peel away the old foam. On most seats in this condition it comes off in pieces. Clean the metal frame thoroughly before moving on. Any surface rust should be wire-brushed and treated with a rust converter, because this seat will be in the car for another 20 years and you do not want to pull it again soon.
Pay close attention to the listing wires before you set the old cover aside. These are the metal rods sewn into channels in the cover that hook to the frame attachment points via hog rings. Note exactly where each one runs and how it connects. If they shift during reassembly, the seams will pull out of position and no amount of adjusting will square them back up.
Installing New Foam and Reassembling the Seat
Dry-fit the new foam pieces on the frame before applying any adhesive. Reproduction foam is molded to the correct profile but occasionally needs minor edge trimming to clear frame tabs or mounting points. Use a sharp serrated bread knife for any trimming; it cuts foam cleanly without tearing.
Apply contact cement to the frame and to the mating surface of the foam following the adhesive manufacturer's open time instructions. Both surfaces must become tacky before joining them. Press the foam firmly into position and hold it for at least 60 seconds. Do not hurry this step. A foam piece that shifts once you start pulling the cover over it is extremely difficult to reposition without starting over.
Drape the vinyl cover back over the foam starting from the center and working toward the edges. Re-thread the listing wires through their cover channels if they came loose during stripping. Pull the cover taut, working from the center of each side outward in alternating directions. Attach hog rings at the center point of each side first, then work toward the corners. Even tension across all attachment points is what keeps the seams running straight. Close every hog ring completely so no open end can snag the cover material from underneath.
A Note on the 1979 10th Anniversary Trans Am
The 1979 10th Anniversary Trans Am (RPO Y89) is the single second-gen model that left the factory with leather-trimmed seats. Those silver leather covers require more care during disassembly and reassembly than standard vinyl. Leather has less elasticity and will not tolerate aggressive heat gun use. If the covers are in good shape, the foam replacement process is identical to any other 1978-1981 seat, but work more slowly, keep a soft cloth between any tools and the cover surface, and avoid stretching the leather in any one direction for an extended time. The Pontiac Oakland Club International maintains member registries and documentation resources that can help Y89 owners verify original specifications before starting any restoration work.